I have been making surgical hats for years, usually as gifts for friends and relatives who are nurses. Some of those hats have been washed dozens of times and still hold up very well.
Since the advent of the COVID-19 pandemic, I’ve given away dozens more hats, both of the fitted type and the bouffant type.
However, I’ve also made hundreds of face masks, with a seemingly never-ending list of people who need them NOW. In order to continue making surgical caps, I needed to find a way to make the hats faster, but with just as much durability.
After making at least one version of every scrub hat pattern I could find, here is my solution:
Take 1 WOF (width of fabric) strip cut at 2.5 inches wide. Create a tube by sewing or serging, then turn it right side out. Tuck each end in 1/4″ and top stitch the ends shut, then cut the tube in half.
Now add an 8″ long piece of elastic between the tubes and stitch it in place. Set aside for now.
Take two fat quarters (18″ x 22″) pieces of coordinating fabric and place them pretty sides together. Sew along one 22″ edge of the fabric, leaving open 1.5″ at the beginning and end and about 5″ in the middle of that seam line.
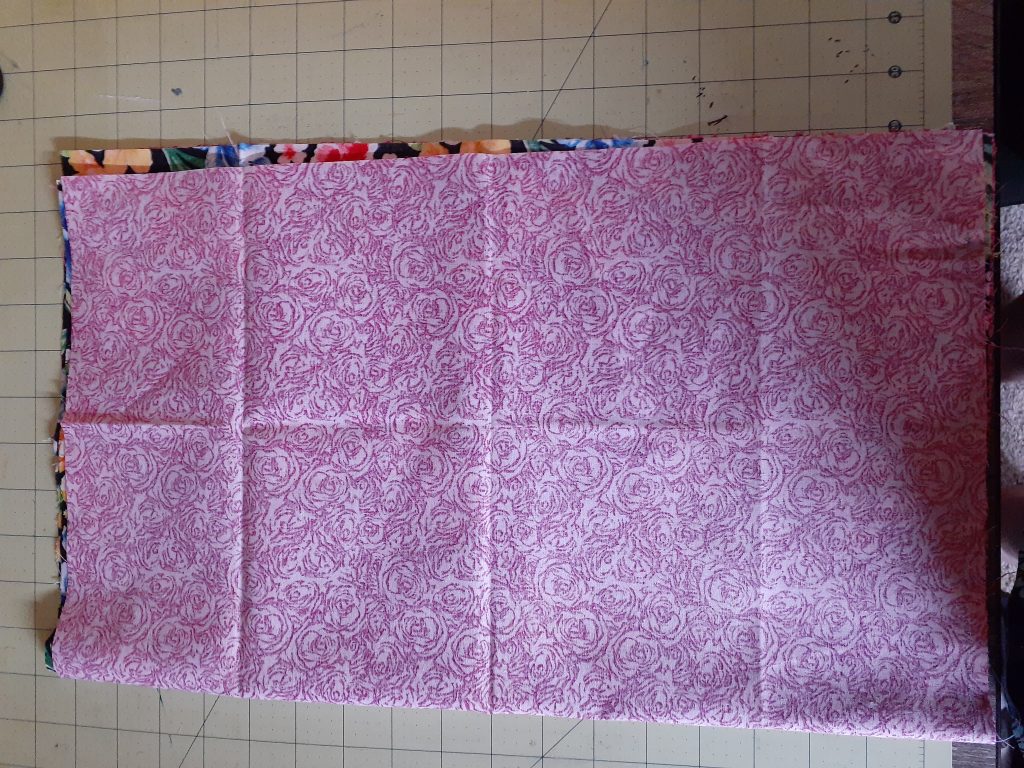
Now fold the fabric so the seam is on the edge closest to you, then cut a small curve near the far edge. This assures that your curve matches. You can vary the size of this curve, with a more shallow curve allowing room for larger heads and/or ponytails inside the cap.
Lay the hat out flat, then use a serger or a sewing machine to sew the curved edge of the hat. If you use a sewing machine, you’ll need to clip the curves so the seams come out flat later.
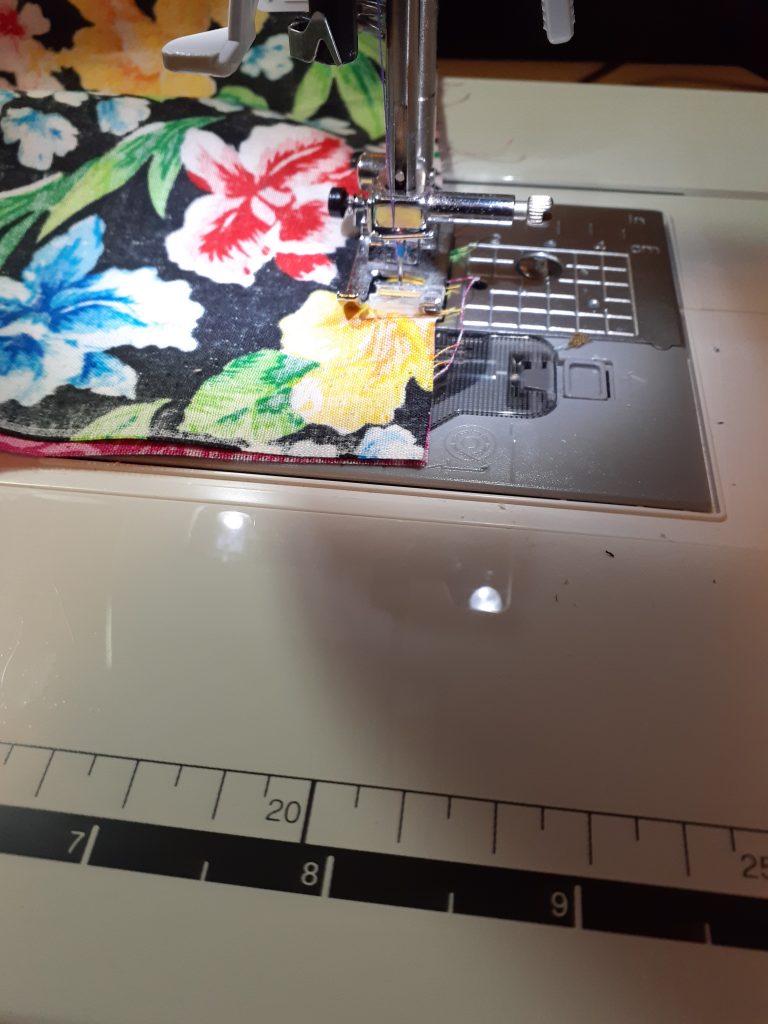
Reach inside the larger opening and turn the entire hat right side out. Press the hat flat. Make sure to fold the opening edges in 1/4″ for a neater finish. After it’s all ironed, use a sewing machine to sew another stitch about 3/4″ away from the curved edge. You’re creating a channel for your ties, but don’t sew the edge with the openings yet.
Feed your ties through, pulling the hat so that the end of the tie with the elastic sits just inside the 1.5″ opening you left earlier. Pin those into place, then sew across the edge with the openings, closing the openings and creating a pretty top stitch for that side.
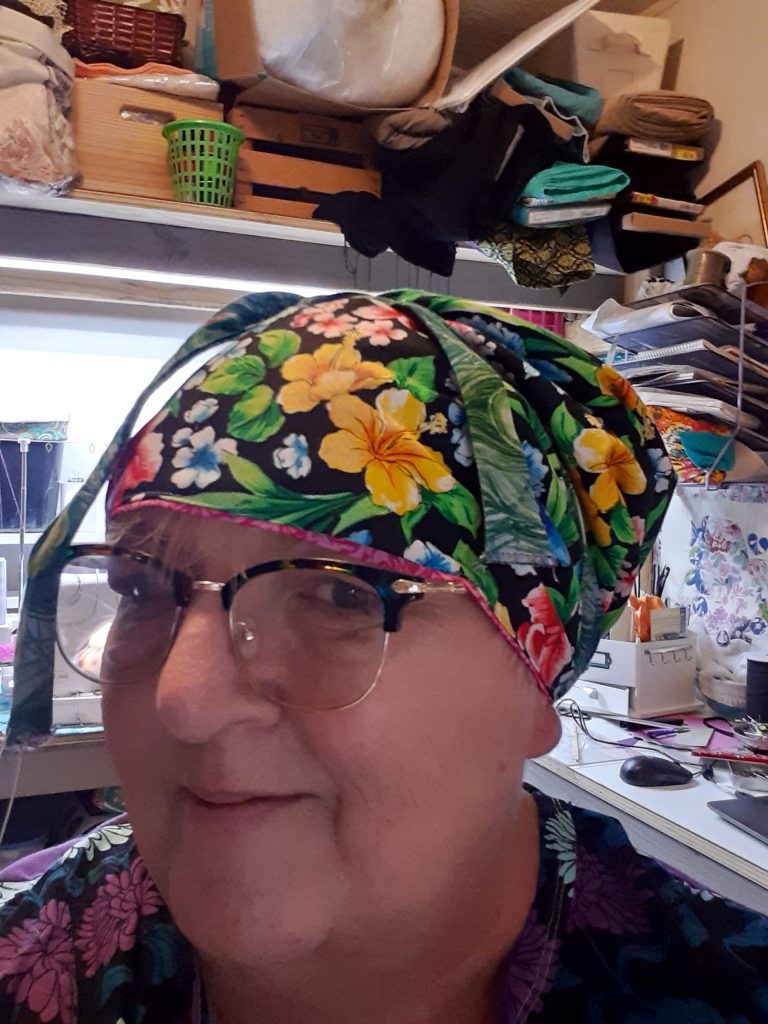
Your hat is now done! You can wear it a couple of different ways. If you like having a brim, you can fold up the edge at the front and sew that down (or not). All told, this takes me about 10 minutes to make. My normal pattern required creating 15 pleats around the edges, then doing fiddly elastic insertion, etc. For production sewing, at my best time, I could only do about 40 minutes, so I’m super happy to be able to create 4 hats in the same amount of time!
Podcast: Play in new window | Download