With the COVID-19 pandemic, most parts of the world are requiring face masks for citizens. There are patterns for face masks with wire, without wire, fitted to the face, not fitted, with filters, without filters.
I waded through all of these patterns, looking for the one that would be super fast to make, have a place for a filter, and offer some protection for people who have to be out in public.
My final version is super simple. I cut two 9″ x 6″ pieces of fabric. (In this example I have a dark piece and a light piece)
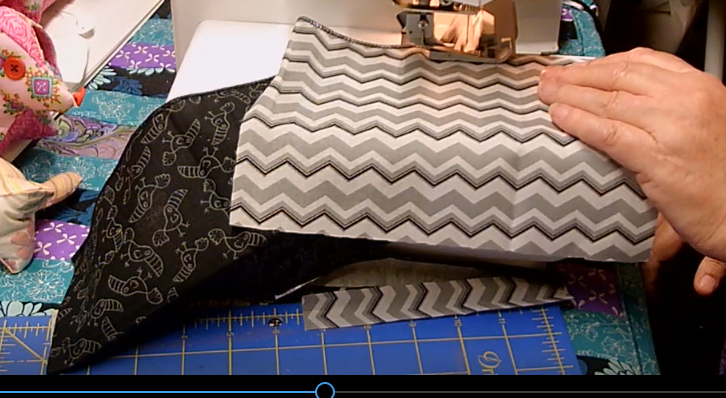
I use my serger to finish one 9″ edge of each piece of fabric, then put the pieces with right sides together and serge the opposite edge. After serging, I turn the piece so that the seam is on the inside. (Here the printed sides of the fabric are facing one another during serging.)

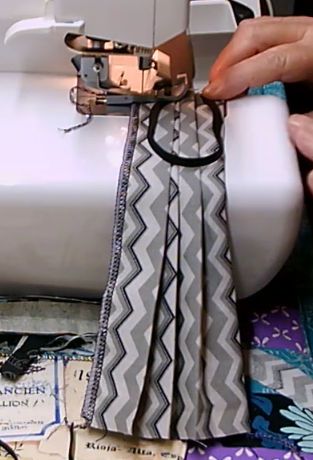
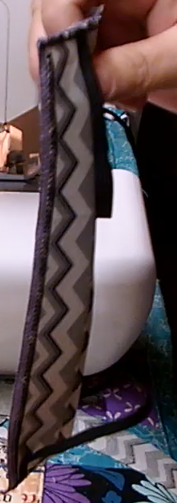
I then use my iron to put in three pleats on the mask.

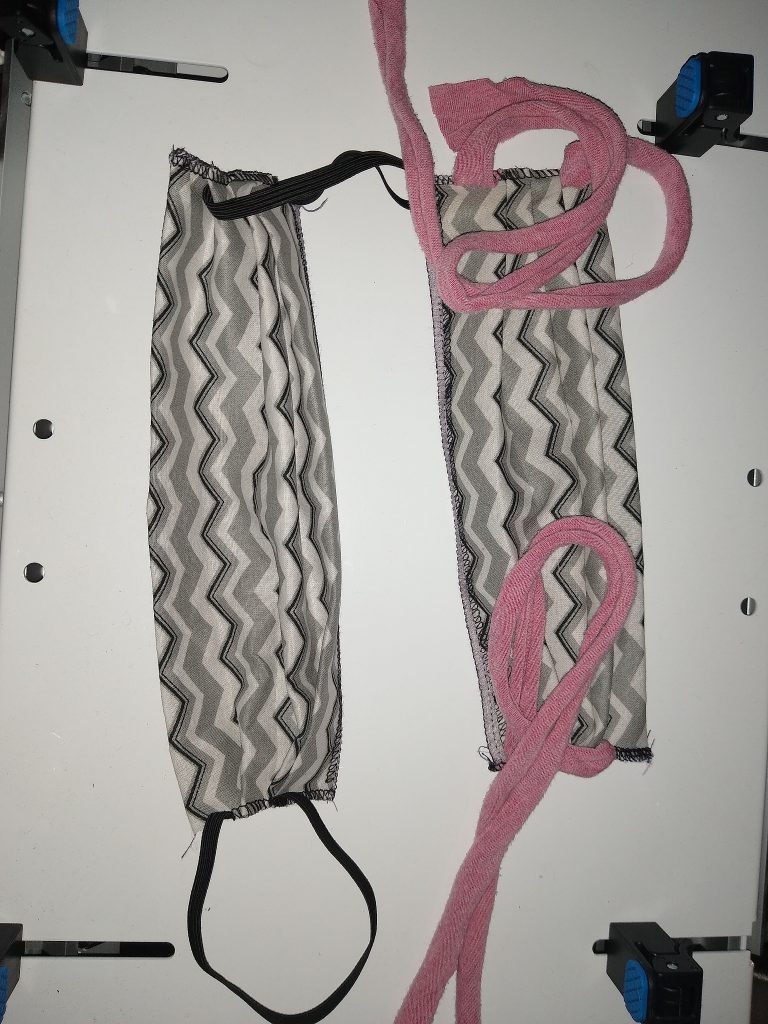
Once the pleats are ironed into place, I attach my choice of fastener to the sides while serging the pleats in permanently.
7.5 inch Elastic:
18 inch T-shirt ties:
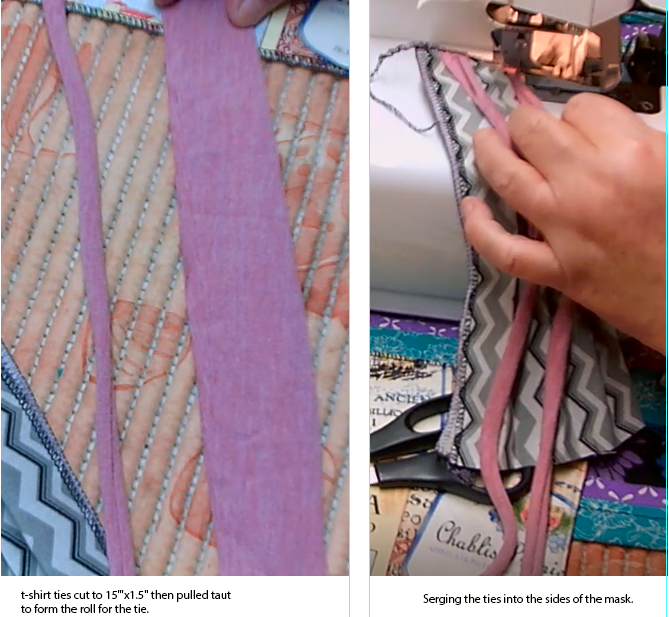
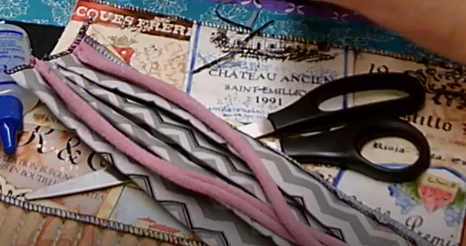
I’ve also used my coverstitch to create long ties from fabric, cut into 15″ pieces, and attached those ties using my serger. It’s also possible to add the pleated mask into the fabric ties on the coverstitch for a more finished look. For this version, I use 2.5″ wide cuts that are the full width of the fabric, usually about 42″.